Don't Read This Less CSS Tutorial (Highly Addictive)

EDIT from 2012: I strongly recommend reading or watching my talk about CSS Preprocessors and considering using Sass instead of Less.
If you're a web developer or designer you may have faced this kind of situation before:
2 possible answers:
- A pure CSS developer: "Ughh okay... Can you come back in 20 minutes?"
- A Less CSS developer: "Sure! Wait just a second... Done, look!"
If you're using pure CSS, even when respecting best practices, chances are that your answer will be the first one. Indeed, CSS is really far from being perfect. Hasn't it come to your mind that some essential features are missing from a such widely used language? For instance, very basic things like variables. Declaring a simple variable to store a color at the top of your stylesheet and being able to change the entire theme of your site by only changing this single variable would be pretty neat right? And what about all these repetitions each time you use CSS3 properties with vendor prefixes? Wouldn't it be useful to have to declare that just once? Well guess what, we're gonna fix that! This article will demonstrate the power of Less, an enrichment of CSS using JavaScript. It adds tons of awesome features missing from CSS to make your web developer life so much easier. Trust me, once you've tried it, it changes the way you code your stylesheets forever and you'll never come back to pure CSS!
What is Less?
A "dynamic" CSS
According to the official website, Less is a "dynamic stylesheet language". I have a question for you now: How many stylesheet languages do you know? Well except if you developed your own language and a dedicated browser to interpret it, chances are that you only know CSS. You might even have never thought about "What if there were another stylesheet language?". Well Less is kind of one. "Kind of" because you develop using the Less language, but in the end, it's compiled to pure CSS so that browsers can read it. It's also called "dynamic" because it enriches CSS with many common features available in most modern dynamic programming languages (like variables for instance). During the development phase, you'll be able to use all those new cool features we'll see in this tutorial and it will help you code way more efficiently. Less compiler, which is written in JavaScript, will convert all your Less code into CSS to be interpretable by the client. When does this conversion happen? You have 3 options:
- On the fly in the browser with
less.js, - By using the lessc compiler via the command-line,
- With some fancy app like CodeKit or LiveReload.
Compiling in the browser with less.js
LessCSS.org has a big tempting button to download less.js. It is not a good idea. At least not for production.Less.js will perform AJAX requests to grab your Less files, will then process those files to convert them into CSS, and finally inject the resulting CSS in the head of your document. It is extremely inefficient in terms of performance and you should never use it in production. Plus, if the user's JavaScript is deactivated, well... it will just not work at all. But if you just want to do a quick prototype or if you don't have access to your usual development environment, less.js is perfectly fine!
Lessc and the command-line
You can also execute Less in your terminal. In order to do this, you will need to install Node.js on your development machine, and then install the Less module by running:
npm install -g less
You can then simply run this command to compile a style.less file to style.css:
lessc style.less > style.css
Simple and efficient, I highly recommend this method. But if you're really scared of the command-line, you can also use an application to do it for you.
Using an application to compile for you
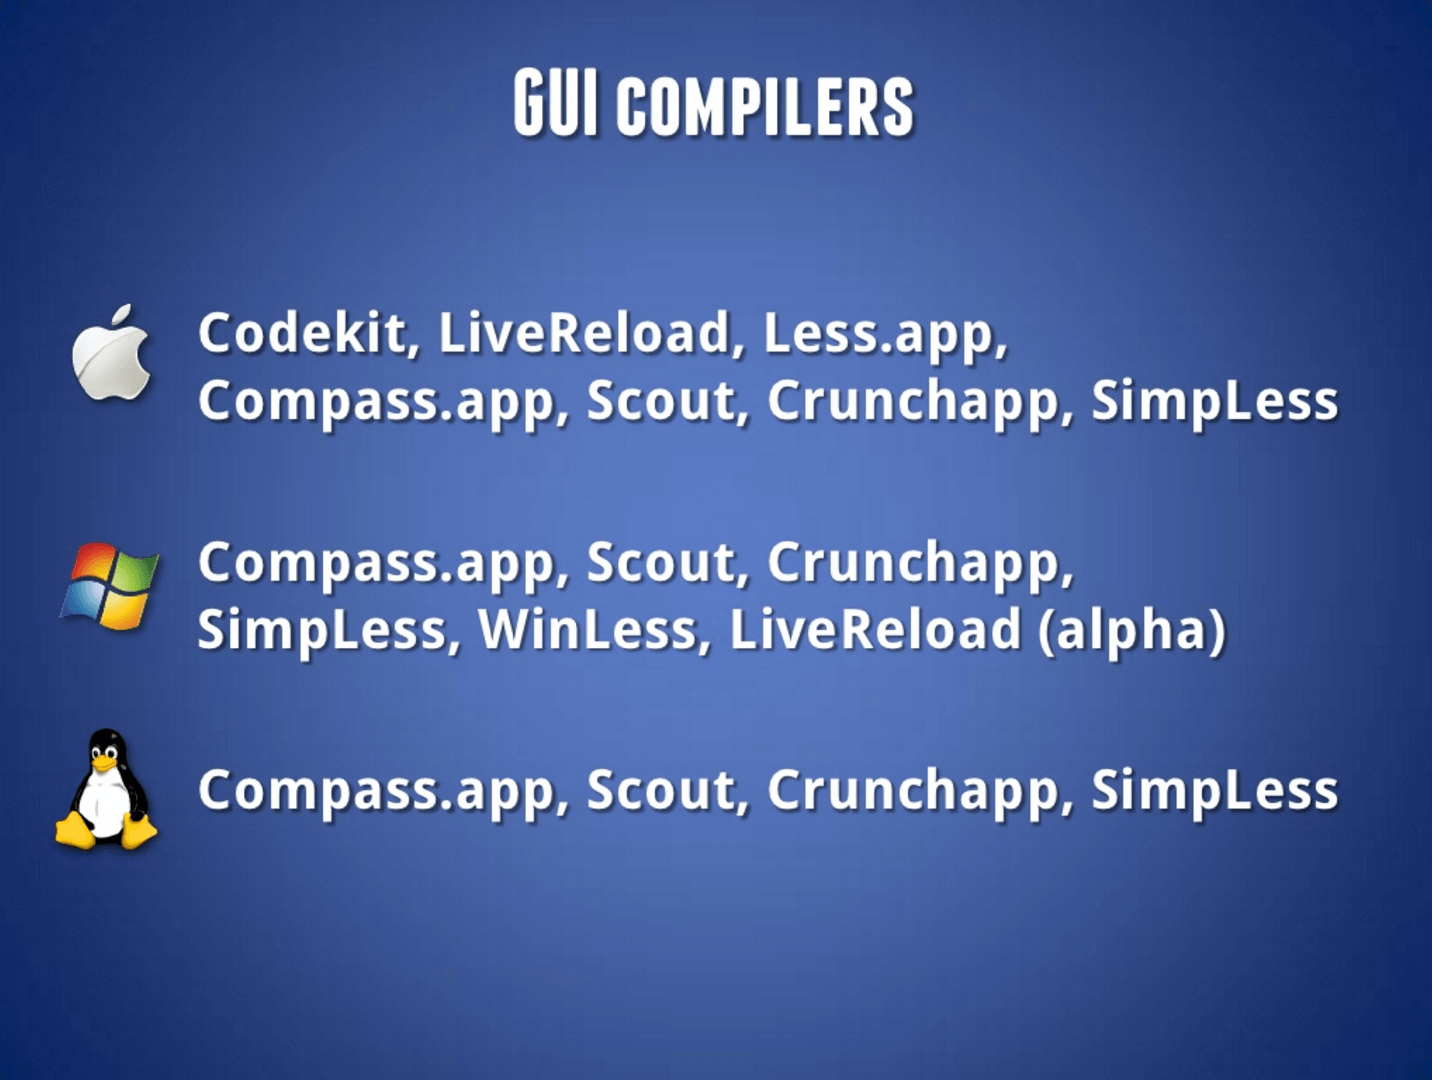
Here is a list of applications that you can run when you are working that will manage the compilation for you. It is taken from my slides about CSS Preprocessors:

Some of these apps are free, others are paid. I've personally tried Codekit on Mac, which costs $25 and works really well.
Okay sounds cool, let's start!
In this entire scenario, my goal will be to draw CSS shapes with different colors and decorations (cause it's visual and I know you like it). Of course you can, and should, imagine how you can apply this to a real project. I highly recommend that you implement this example for real, because it's the best way to learn. Honestly, you should really do it. I know you're lazy but trust me, it's worth it. So create an empty HTML file and here we go!
Our HTML file
First, here is the HTML we'll be using:
<!DOCTYPE html>
<html>
  <head>
    <link rel="stylesheet" href="style.css" />
  </head>
  <body>
    <div class="shape" id="shape1"></div>
    <div class="shape" id="shape2"></div>
    <div class="shape" id="shape3"></div>
  </body>
</html>
A little bit of basic CSS styling
Okay, we can finally start! First, we create and open a style.less file. Then we add some CSS styles to our shapes in order to see them. We'll set the default shape to a simple light blue square:
.shape {
  display: inline-block;
  width: 200px;
  height: 200px;
  background: #ddf;
  margin: 20px;
}
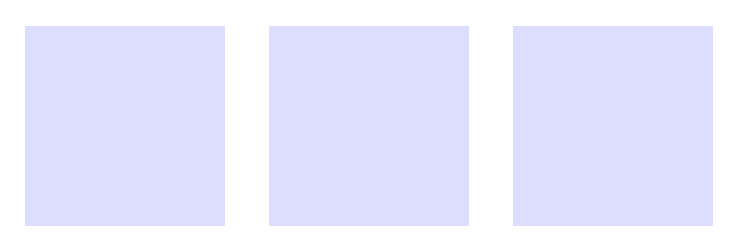
Run lessc style.less > style.css to compile it and this is what your browser should display when you open the page:

Nothing surprising here, just pure and simple CSS for the moment. But what if our example gets mucher bigger and we declared the #ddf light blue color in several different places in the file? Even with very good CSS best practices, we would still have to replace every single declaration of this color in order to try a new theme for example. That's not convenient at all. Let's use a Less variable to handle this.
Variables
Less variables can be declared and used with the @ symbol. You give them a name and a value, and then you can refer to the name of the variable anywhere in your file:
@lightBlue: #ddf;

.shape {
  display: inline-block;
  width: 200px;
  height: 200px;
  background: @lightBlue;
  margin: 20px;
}
Pretty cool right? But it won't be very helpful if we have to change the references to @lightBlue everywhere in the code. So we can for instance declare an other variable for our "default theme":
@lightRed: #fdd;
@lightGreen: #dfd;
@lightBlue: #ddf;

@defaultThemeColor: @lightGreen;

.shape {
  display: inline-block;
  width: 200px;
  height: 200px;
  background: @defaultThemeColor;
  margin: 20px;
}
With this example you can see our code becoming more modular and reusable. We just have to change the @defaultThemeColor to @lightGreen to use the new theme:

You can see a Less best practice here as well: declaring all the dumb constants at the top of the file, and then adding some logic. Talking about constants, be aware that Less "variables" are actually just constants, and their value cannot be changed once they're set. So like Indiana Jones, "choose wisely"!
Mixins
Do you know how to draw rounds in CSS? You just have to set a very high CSS3 border-radius value. Let's apply that to the first shape:
#shape1 {
  border-radius: 9999px;
}
Since we used CSS3, if we want it to work for as many browsers as possible, we must provide the alternative -webkit- and -moz- vendor prefixes versions as well. So you would do something like this in regular CSS:
#shape1 {
  -webkit-border-radius: 9999px;
     -moz-border-radius: 9999px;
          border-radius: 9999px;
}
We see something interesting here: three properties with the same value. Pretty boring to write right? No problem, Less to the rescue! With Less we can define "mixins", which are something comparable to functions in other programming languages. In Less they're used to group CSS instructions. We'll use a mixin to handle the boring repetition of border-radius declarations. Just like variables, you have to declare a mixin before calling it, with the . symbol this time:
.Round {
  -webkit-border-radius: 9999px;
     -moz-border-radius: 9999px;
          border-radius: 9999px;
}

#shape1 {
  .Round;
}
You can then apply this .Round mixin wherever you want to make something round without having to declare the border-radius instructions again. That's already cool, but it gets even cooler with parameters.
Parametric mixins
I now want to be able to create rounded squares, not just rounds. Let's modify our .Round mixin to something more generic: .RoundedShape. Our RoundedShape mixin should be able to handle rounds and rounded squares, depending on the parameters used to call it. To declare parameters, use parentheses after the mixin name:
@defaultRadius: 30px;

.RoundedShape(@radius: @defaultRadius) {
  -webkit-border-radius: @radius;
     -moz-border-radius: @radius;
          border-radius: @radius;
}
A parameter can be used similarly to a variable inside the mixin, and you can specify a default value for the parameter if none is given when the mixin is called. I also used a variable for this default value to keep the code reusable and generic. So now that we have our cool RoundedShape mixin, let's create 2 other mixins which will call it to create rounds and rounded squares:
.Round {
  .RoundedShape(9999px);
}

.RoundedSquare(@radius: @defaultRadius) {
  .RoundedShape(@radius);
}Round and RoundedSquare to our shapes:#shape1 {
.Round;
}
#shape2 {
.RoundedSquare;
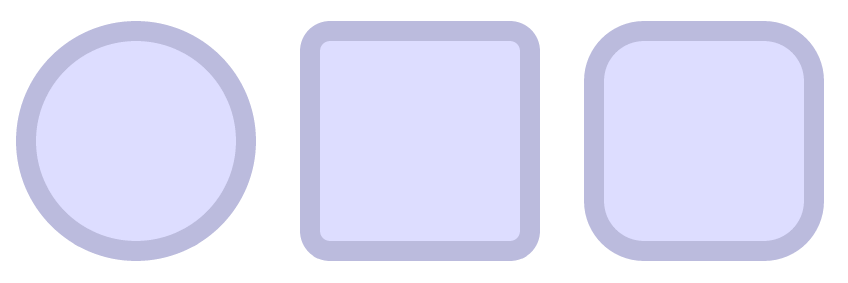
}Now refresh your page and... BOOM!

Since we haven't passed any parameter to RoundedSquare, the 30px @defaultRadius variable is used, but we could also call it with parameters, on #shape3 for instance:
#shape3 {
  .RoundedSquare(60px)
}
With just 3 lines to call our mixins, we have a whole logic handling behind the scene that makes our code super reusable and easily maintainable. How cool is that? We can go way further with mixins. In my opinion, variables and mixins are so powerful that it's a sufficient reason to move to Less! But since Less offers tons of other amazing features, let's take a look at it.
Operations
One other powerful feature of Less is the ability to use mathematical operations in your stylesheets (I agree it sounds boring, but it's actually very cool). Let's declare a @defaultShapesWidth variable to set the default shapes widths to 200px instead of hard-coding it like we used to:
@defaultShapesWidth: 200px;Now I want to add some borders to our shapes. Borders, whose size will always be 10% of the shape width. How would you do that in pure CSS? Yeah, exactly, you can't at all! So thanks to Less, we can now do this kind of operation:
@borderSize: @defaultShapesWidth * 0.1;You can add, subtract, multiply and divide values. So you might think "Yeah, but it only works for pixels right?". Nope sir, it also works for colors!
@defaultThemeColor: @lightBlue;
@borderColor: @defaultThemeColor - #222;
We darkened the light blue color by subtracting 2 hexadecimal units to each RGB value. It can be confusing the first time. Just keep in mind that adding or subtracting #000 has no effect and #fff has a maximal effect. And this is what we get when applying these new variables to a border rule:
border:@borderSize solid @borderColor;
The result is exactly as expected. That's awesome. But the color operation we used was pretty simple. Adding a little bit of dark is easy, performing saturation operations is way more complicated and unintuitive. Fortunately, we can use some handy color functions to do that!
Color functions
Less provides the following color functions:
darken()andlighten(), which add some black or white,saturate()anddesaturate(), to make a color more "colorful" or more "grayscale",fadein()andfadeout(), to increase or reduce transparency,- and
spin(), which modifies the hue of the color.
If, for instance, we want to make the border completely desaturated to get its equivalent on the grayscale, we would use the desaturate function like this:
@borderColor: desaturate(@defaultThemeColor, 100%);And we can even use the output of a color function as the input of another:
@borderColor: darken(desaturate(@defaultThemeColor, 100%), 20%);Which has the following result:

All color operations take a color and a percentage as parameters, except spin, which uses integers between 0 and 360 instead of percentages to modify the hue:
@defaultThemeColor: spin(@lightBlue, 100);
Nested rules
When designing a complex page using CSS, you often have to chain selectors to aim a particular element in the DOM, like this:
#header h1 {

}

#main h1 {

}
Depending on the container of the h1 elements, their style will be different if they're in the #header or the #main section. This syntax is fine when you have a very simple DOM, but if you have to chain 4 or 5 selectors it gets messy and visually hard to represent the hierarchy of your styles. With Less you can nest rules inside parent rules to mimic the DOM structure:
#header {
  /* #header styles */
  h1 {
      /* #header h1 styles */
  }
}
This can be a little bit confusing at the beginning but when you get used to it, this syntax helps a lot to visualise where is located the element you're working on. There is also a super handy way to use pseudo-classes (you know, those special selectors like :hover). Let's say we want to change our shapes' color when hovering them with the mouse, we can use nested rules combined with the & selector:
.shape {
  &:hover{
    background: @lightRed;
  }
}
This & symbol represents the current selected elements. It's the equivalent of "this" in most programming languages. Very convenient! And here is the result:

Nested rules are pretty awesome, but there is a little drawback: since we use CSS syntax highlighting for our *.less files, many editors (including Eclipse) will go crazy and do some very bad syntax coloration with nested rules. If you can deal with broken syntax highlighting it will be fine, but for most of us, it's really awful. The only thing we can do is wait for a proper plugin to bring a real Less support to our editors. Personally, I only use nested rules for very simple one level nesting with few properties or for the &:hover thing. But it's really up to you.
Importing
Finally, the last thing I wanted to show you is how to import Less files. It's a very good practice to separate your rules into different files instead of having a 1000 lines giant file. Importing a file into another in Less is as simple as that:
@import 'colors.less';You can even omit the .less extension and just declare:
@import 'colors';So depending on your project, you can split your files in a relevant way. Personally, I like having separate files for:
- CSS Reset or normalization,
- Colors,
- Fonts and typography,
- UI Elements,
- The main styles of the page,
- ...and any other relevant group of rules depending on your project.
You can take a look at the very good Twitter Bootstrap Github repository to see how those guys split up their files for a professional usage. You may think that imports result in many unnecessary HTTP requests that will slow down the loading time of your page, and that's true! But remember we'll use the Less output as a new CSS. If we do so, we really don't care about using multiple files, since at the end, everything will be concatenated into just one! So don't be afraid of imports. They will really help you to structure your code.
Final Less code
Here is what the final code looks like (no imports for such a small example):
/**********************
       CONSTANTS
***********************/

@lightRed: #fdd;
@lightGreen: #dfd;
@lightBlue: #ddf;
@defaultShapesWidth: 200px;
@defaultRadius: 30px;

/*********************************
   OPERATIONS & COLOR FUNCTIONS
**********************************/

@darkBlue: @lightBlue - #555;

@defaultThemeColor: @lightBlue;

@borderSize: @defaultShapesWidth * 0.1;
@borderColor: @defaultThemeColor - #222;

/**********************
        MIXINS
***********************/

.RoundedShape(@radius: @defaultRadius){
  -webkit-border-radius: @radius;
     -moz-border-radius: @radius;
          border-radius: @radius;
}

.Round {
  .RoundedShape(9999px);
}

.RoundedSquare(@radius: @defaultRadius){
  .RoundedShape(@radius);
}

/**********************
         STYLES
***********************/

.shape {
  display: inline-block;
  width: @defaultShapesWidth;
  height: 200px;
  background: @defaultThemeColor;
  margin: 20px;
  border: @borderSize solid @borderColor;

  &:hover { background: @lightRed }
}

#shape1 { .Round }
#shape2 { .RoundedSquare }
#shape3 { .RoundedSquare(60px) }
You will also notice that you can use single line comments, which is a very simple but appreciated addition to CSS!